Revolved Side Angle Pose | Parivrtta Parsvakonasana
From Sanskrit to English
Sanskrit pronunciation: Parivrtta Parsvakonasana (par-ee-vrt-tah parsh-vah-cone-AHS-anna)
Meaning: to revolve, turn around ; parsva = side ; kona = angle.
Most commonly known in English as Revolved Side Angle it is also referred to as Twisted Side Angle, Rotated Side Angle or Side Angle Twist. The pose is “revolved” because since the leg is paired with the opposite arm, it alters the direction of the twist, a bit like in Parivrtta Trikonasana with the expectation that the front knee is bent.
Benefits of Parivrtta Parsvakonasana
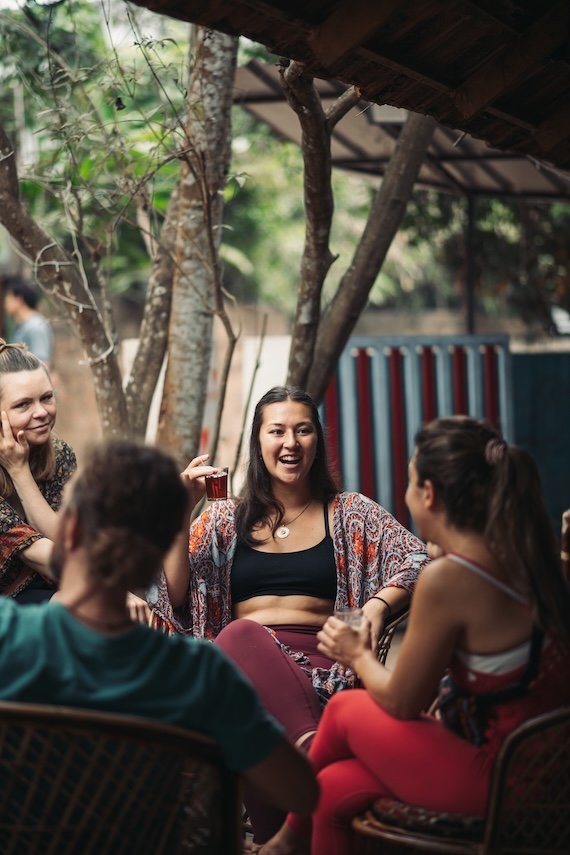
Yoga for every BODY
This pose is an intense twist which not only requires a lot of flexibility and strength, but also quite a bit of balance. The key challenges here are the alignment of the hips and the opening in the chest while performing the twist. Even if you are an advanced practitioner, it might be worth checking out the modifications below for a little refresher!
Standard Parivrtta Parsvakonasana
1. From Tadasana, step open to the right so that your feet are about 120-150 cm apart (depending on your height). Make sure your front foot is parallel to the longer edge of your mat and your back foot is turned in to form a 45 degree angle. Square your hips and send them to face the front.
Modification 1: Using a chair (Version 1)
Using a chair to support your front leg and staying onto the ball of the back foot, can truly help you square your hips and bend your front leg without demanding too much from your body. In addition, holding onto the back of the chair can really ease the rotation meant to take place in the upper body.
A

1. Set up a chair on your mat, having it face the longer edge, and place a blanket over its seat.
2. Take a step over the seat of the chair with the leg that is closest to the back of the chair. Making sure your front foot is parallel to the longer edge of your mat, come onto the ball of your back foot, send your back heel to the sky, and slowly slide back (with your back leg) until your front knee is bent at a 90 degree angle.
3. Press into your feet, extend your back leg, activate your mula bandha and uddiyana bandha and start rotating your upper body towards the back of the chair.
4. As you push your front hip down with your corresponding hand, use your opposite hand to grab the back of the chair in order to twist your upper body even more. Look up.
Modification 2: Using a Chair (version 2)
If you can’t yet bend your front knee to form a 90 degree angle, it isn’t a good idea to attempt reaching the floor with your opposite hand. Instead, using a chair seat as support for your forearm is a deeper modification compared to version 1, and another great way to work on the rotation of the upper body.
B

C

D
Front

Back

2. Stand in front of the chair in Tadasana, with your feet right under the edge of the chair seat and between the legs of the chair.
3. Take a big step back with what will become your back leg and get onto the ball of your back foot, sending your back heel towards the sky. Bend your front knee as close as possible to 90 degrees (slide back with your back leg if needed). Make sure your back leg is straight and your hips are square.
7. For a deeper version of this, you can send the hand that was still on your hip towards the sky (just like in Utthita Trikonasana). Start by looking towards the chair seat (see picture C).
Modification 3: Gaining height with a block
If the chair feels too high but you can’t yet reach the floor with your hand, you can use a block to gain a little bit of height and give your body the time it needs to acquire the flexibility needed.
E

F

1. Stand in Tadasana and place a block on its higher side, to the outside of what will become your front foot.
2. Step back with your opposite leg and get onto the ball of your back foot, sending your heel towards the sky. Slide back until your front knee is as close as possible to a 90 degree angle. Make sure the front knee doesn’t cross the line of your front heel and that your back leg is straight.
3. With your hips square and your hands on your waist, root yourself through your feet, lift your knee caps, and send your tailbone towards the floor. Activate your mula bandha and uddiyana bandha. Lengthen through the sides of your body, and then start twisting your upper body to the right.
4. Once you can no longer twist, lean in with your upper body towards your front leg and reach out for the block with your opposite hand. Use your other hand to feel the alignment of your hips. Look in ahead first (see picture E). If your neck allows, try looking up (see picture F).
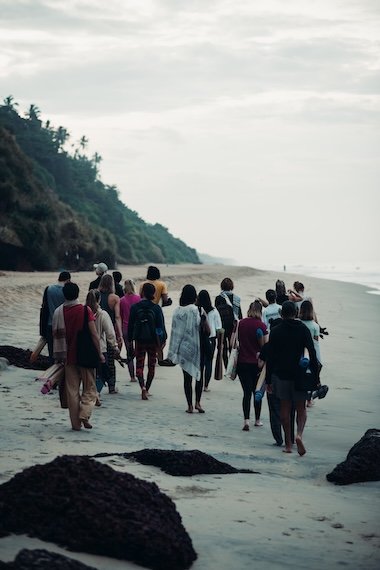
what we offer
Explore Our Top Yoga Programs in Kerala
200H Yoga Teacher Training in Kerala
View Program
300H Yoga Teacher Training in Kerala
View Program
Yoga & Ayurveda Retreats
Shorter immersive retreats in Kerala combining yoga, Ayurveda, and meditation. Reconnect with yourself while experiencing India’s holistic traditions.
View Program