Extended Side Angle Pose | Utthita Parsvakonasana
From Sanskrit to English
Sanskrit pronunciation: Utthita Parsvakonasana (oo-TEE-tah parsh-vah-cone-AHS-anna)
Meaning: utthita = extended; parsva = side ; kona = angle
Benefits of Utthita Parsvakonasana
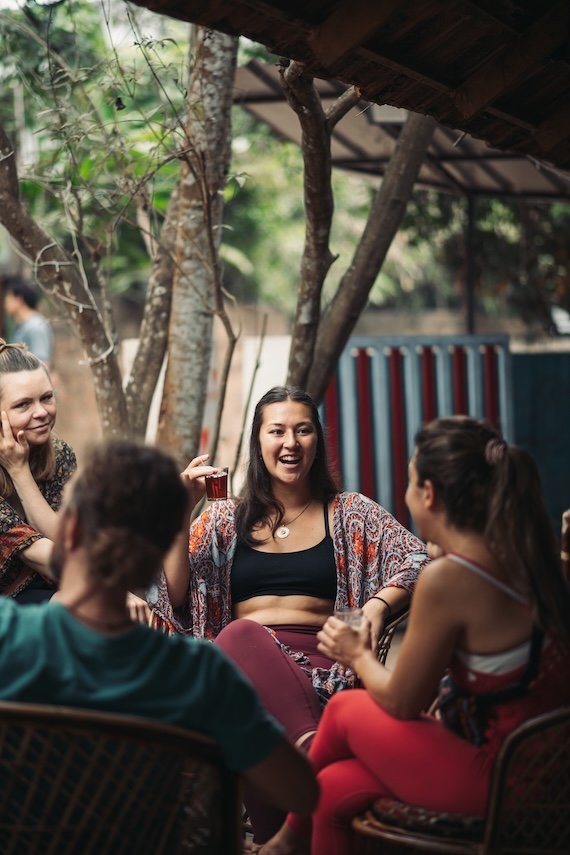
Yoga for every BODY
In Utthita Parsvakonasana A we may easily be tempted to push ourselves beyond our limits. Indeed, there is a tendency to sink too deeply into our hips, overbend the front knee, or wish to touch the floor so badly that we end up closing our upper body instead of opening it. So, no matter where you may be in your yoga journey, let’s step back a little. Why don’t we take this as an opportunity to revise the correct alignment and make the most out of this pose?
Standard Utthita Parsvakonasana A
1. In Ashtanga Yoga we start in Tadasana and step to the right, turning your body to face the longer edge of your mat. Your legs should be about 120-150 cm apart (depending on your height).
3. Bend your front knee so that it’s at a 90 degree angle, directly above your front heel, just like in Virabhadrasana II / B. Extend your back leg and let your back foot entirely touch the floor.
Modification 1: Supporting the lower body
Using a chair and a blanket to support your front thigh will help relieve some of the body weight, giving you more freedom to correctly align your feet, hips and front knee.
A

B

Modification 2: Using a strap
Looping a strap around your hip crease helps lowering the front hip and pushing it back. It also facilitates the rotation taking place in the thigh of your back leg. If you can’t yet reach the floor or if you feel it forces you to close your shoulders, compromising the opening of your chest, place your upper arm right above your front knee.
C

1. Take a strap and stand in Tadasana.
Modification 3: Gaining a little height
If you can’t yet reach the floor with your hand but feel too comfortable with your upper arm resting above your front knee, using a block is a perfect in-between option!
D

E

1. Place a block on its higher side to the outside of what will become your front foot.
2. Step back with your other leg and follow the instructions for Standard Utthita Parsvakonasana but instead of placing the palm of your front hand to the outside of your front foot, place it on the block.
3. Begin looking forward (see picture D). Then if your neck allows, look at the palm of your top hand for a deeper version of the pose (see picture E).
what we offer
Explore Our Top Yoga Programs in Kerala
200H Yoga Teacher Training in Kerala
View Program
300H Yoga Teacher Training in Kerala
View Program
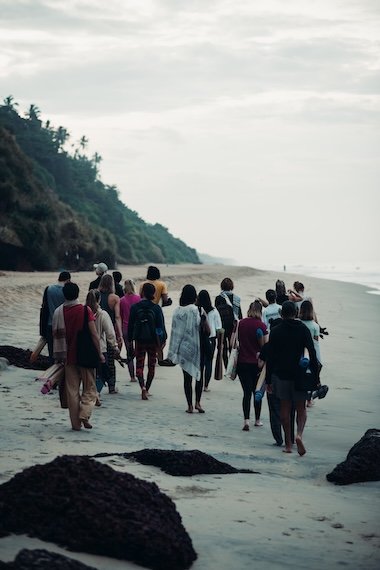
Yoga & Ayurveda Retreats
Shorter immersive retreats in Kerala combining yoga, Ayurveda, and meditation. Reconnect with yourself while experiencing India’s holistic traditions.
View Program